Discover the Benefits and Versatility of the Beauty Blender for Flawless Makeup
The beauty blender is a must-have makeup tool that has revolutionized the way we apply foundation and other makeup products. Whether you’re a professional makeup artist or someone just starting out, this versatile sponge helps achieve a seamless finish. In this article, we’ll dive deep into the beauty blender’s key benefits, practical applications, and advanced techniques to help you make the most of this beauty essential.

Understanding the Fundamentals of the Beauty Blender
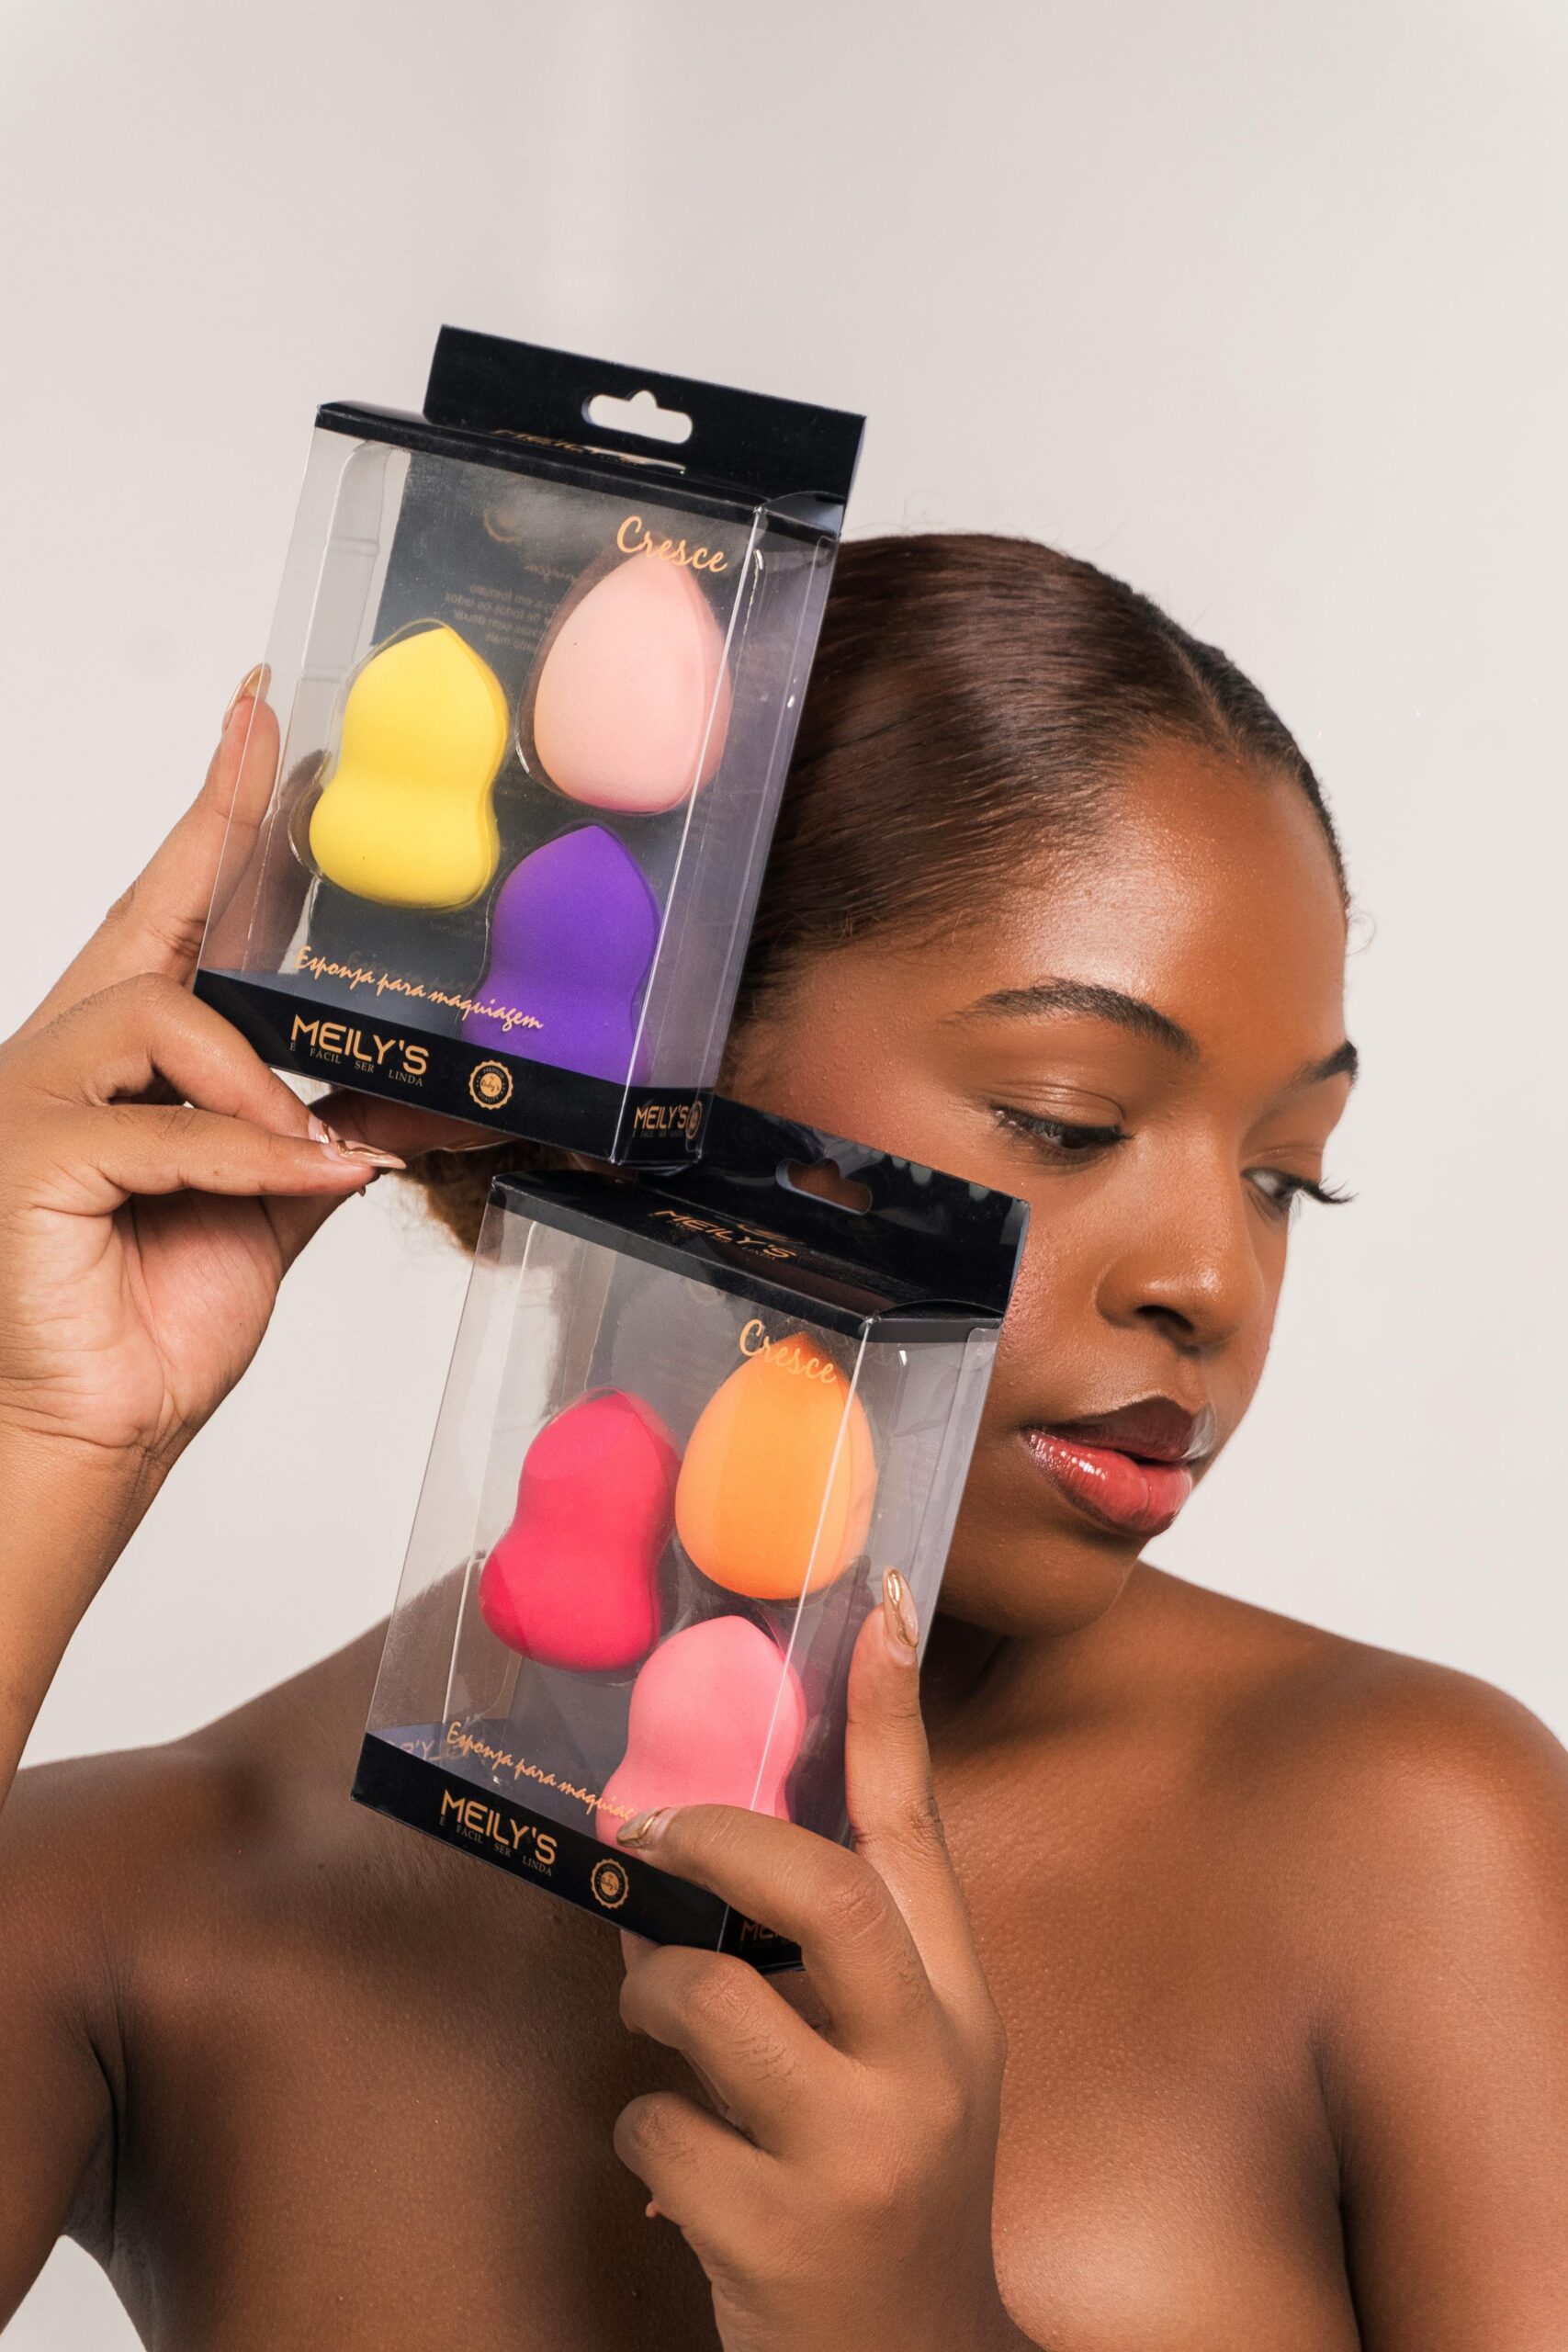
The beauty blender is a unique makeup sponge designed for the smooth and even application of liquid and cream products. Its soft, flexible texture allows it to blend makeup seamlessly into the skin for a flawless finish. Originally introduced by makeup artist Rea Ann Silva, the beauty blender has become a staple in every makeup kit, offering a professional touch to everyday makeup routines.
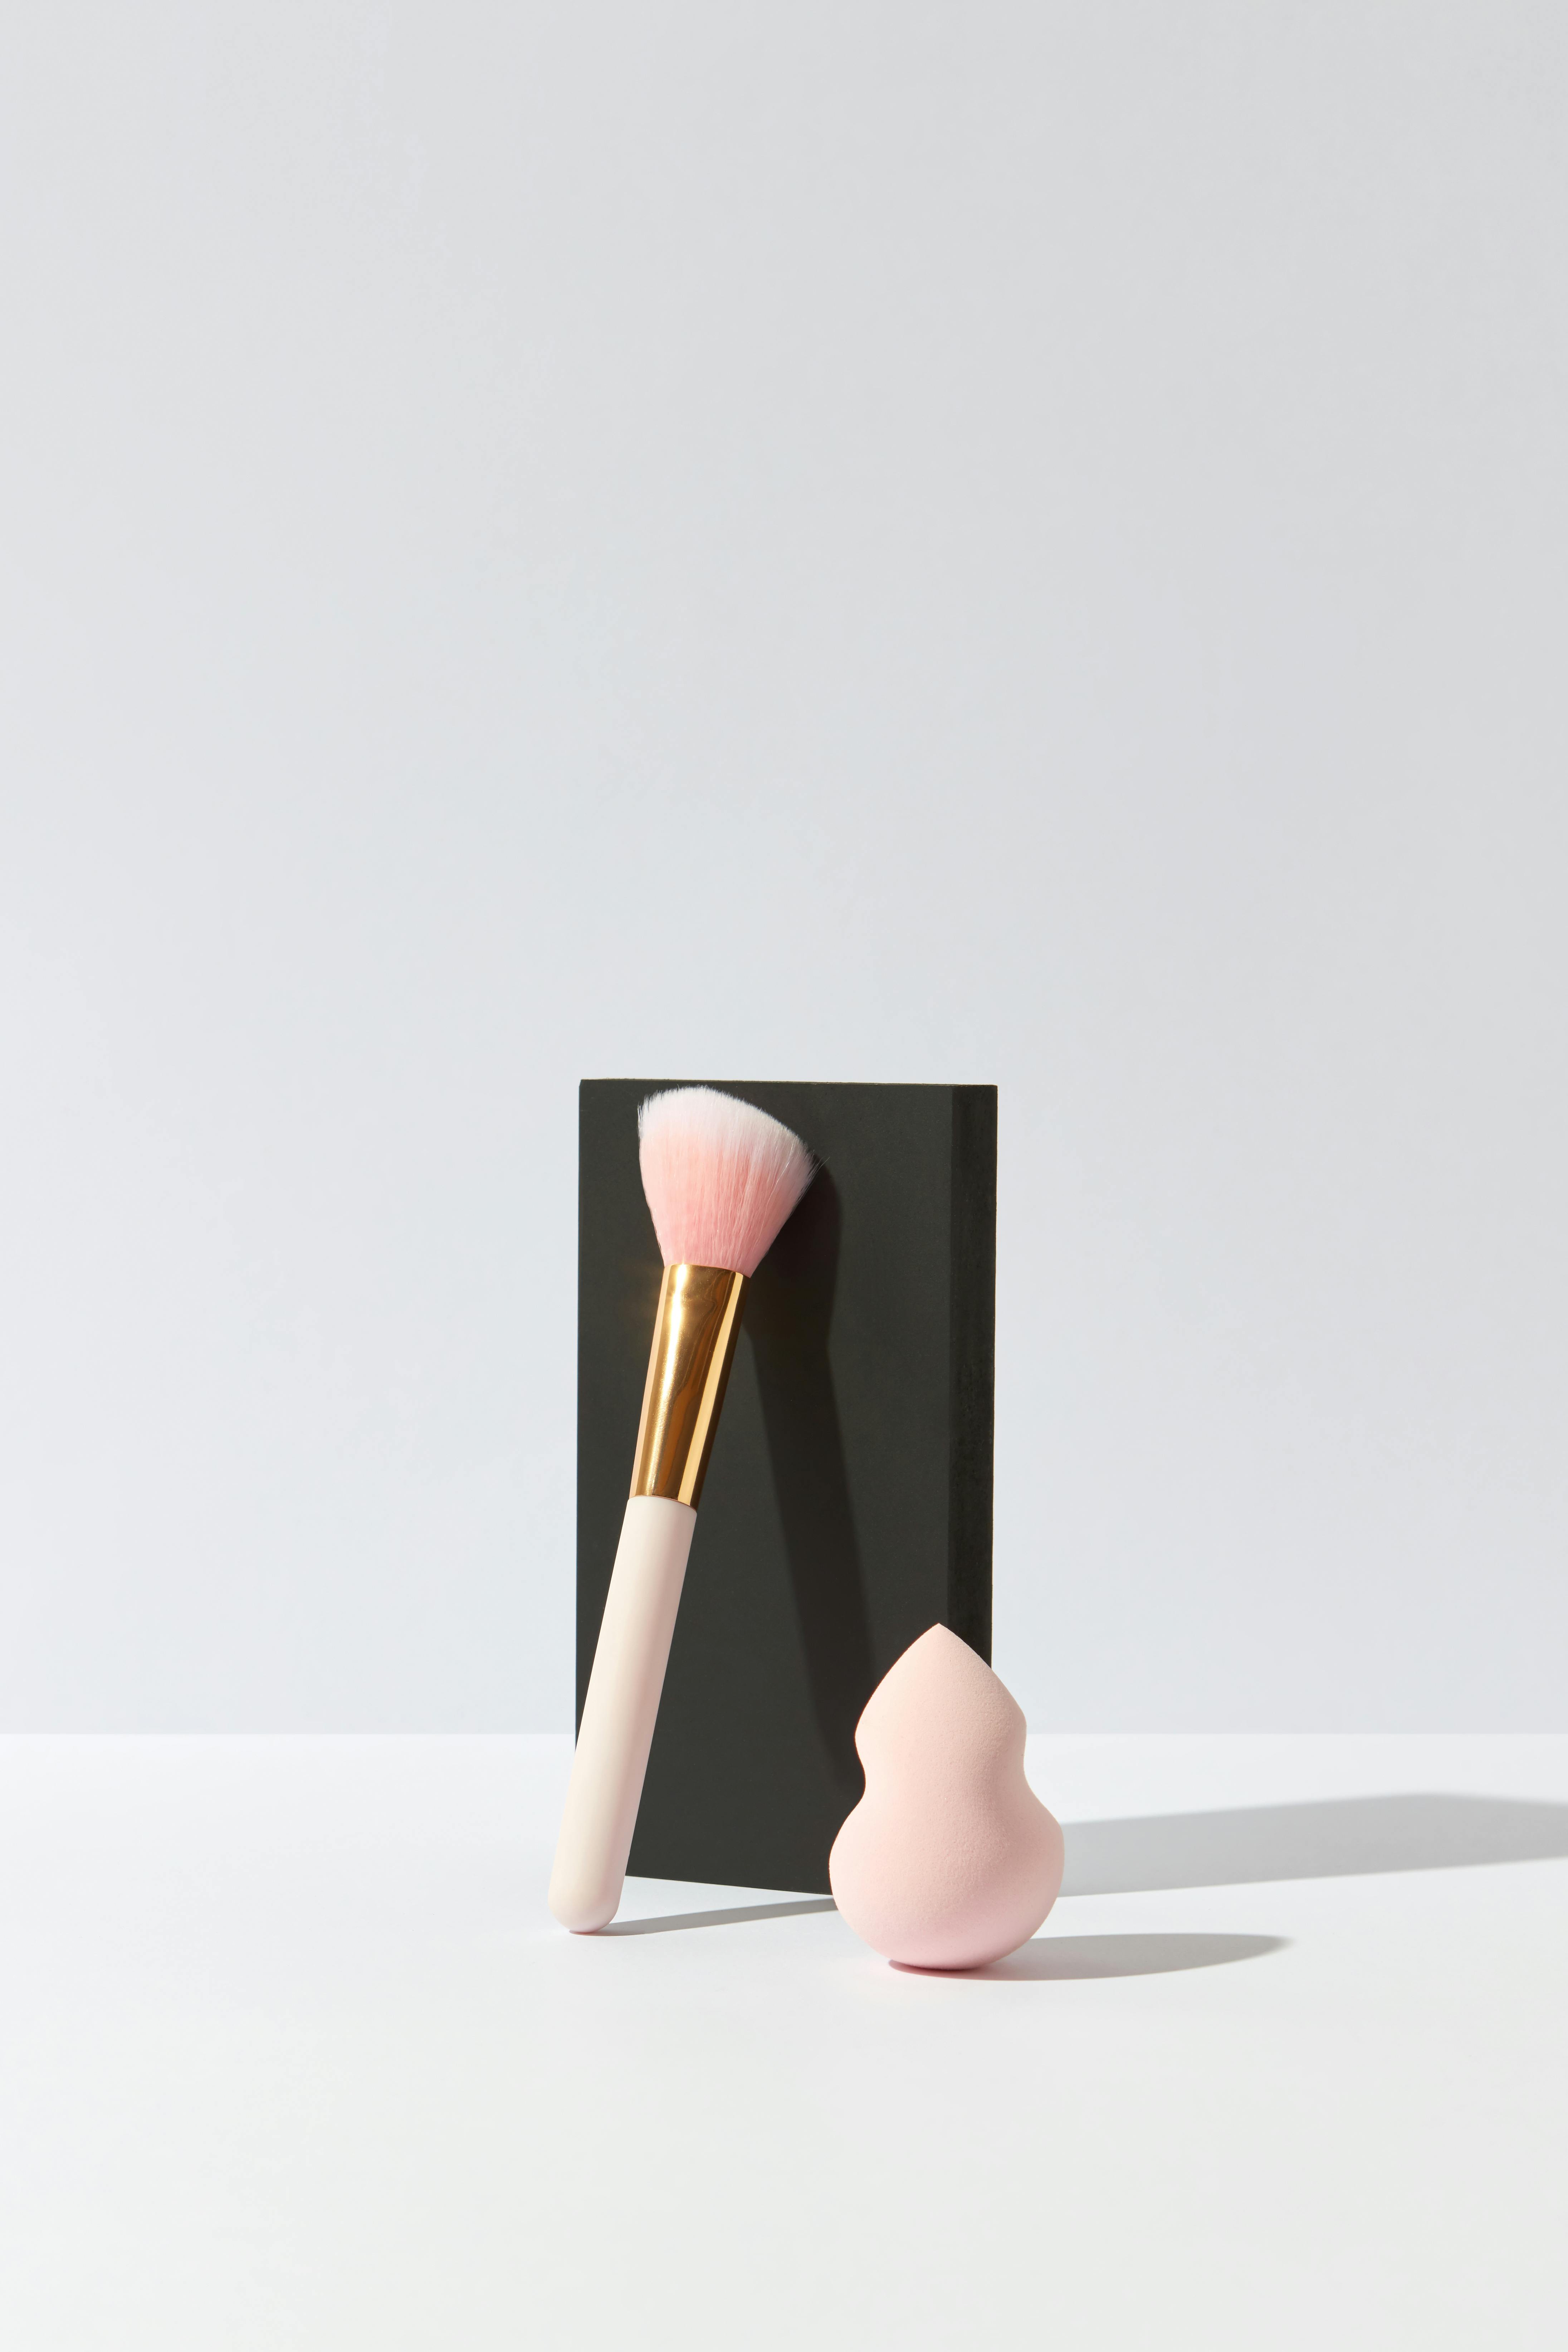
What sets the beauty blender apart from traditional makeup sponges is its egg-like shape, which allows for a precision application. The sponge’s porous structure enables it to absorb minimal product, reducing waste and providing a natural finish that many other tools can’t match.
1.1 The Structure and Material
The beauty blender is made from a non-latex material that’s soft, hypoallergenic, and gentle on the skin. This ensures that it can be used by individuals with sensitive skin without causing irritation. The sponge is designed to expand when wet, creating a bouncy, spongy texture that allows it to blend products effectively.
Moreover, its unique shape helps to contour and blend products into every crevice of the face, ensuring an even application around the eyes, nose, and jawline. Its ergonomic design also allows for a comfortable grip, making it easy to control during makeup application.
1.2 The Science Behind the Blend
The success of the beauty blender lies in its blending ability. Unlike brushes or fingers, which can leave streaks or uneven patches, the sponge’s soft, bouncy texture mimics the natural movement of the skin, helping makeup to melt into the face. This results in a flawless, airbrushed effect that enhances the overall look.
Additionally, the sponge’s dampened state allows for better hydration of the skin while blending, which is perfect for creating a dewy, glowing finish. This moisture also ensures that foundation and concealer blend smoothly without looking cakey or heavy.
Practical Implementation Guide
2.1 Actionable Steps for Using the Beauty Blender
- Step 1: Wet the beauty blender. Before using the sponge, ensure it’s dampened with water. This helps the sponge to expand and ensures a smooth, even blend.
- Step 2: Apply product to the face. Dot foundation, concealer, or cream products directly on your face.
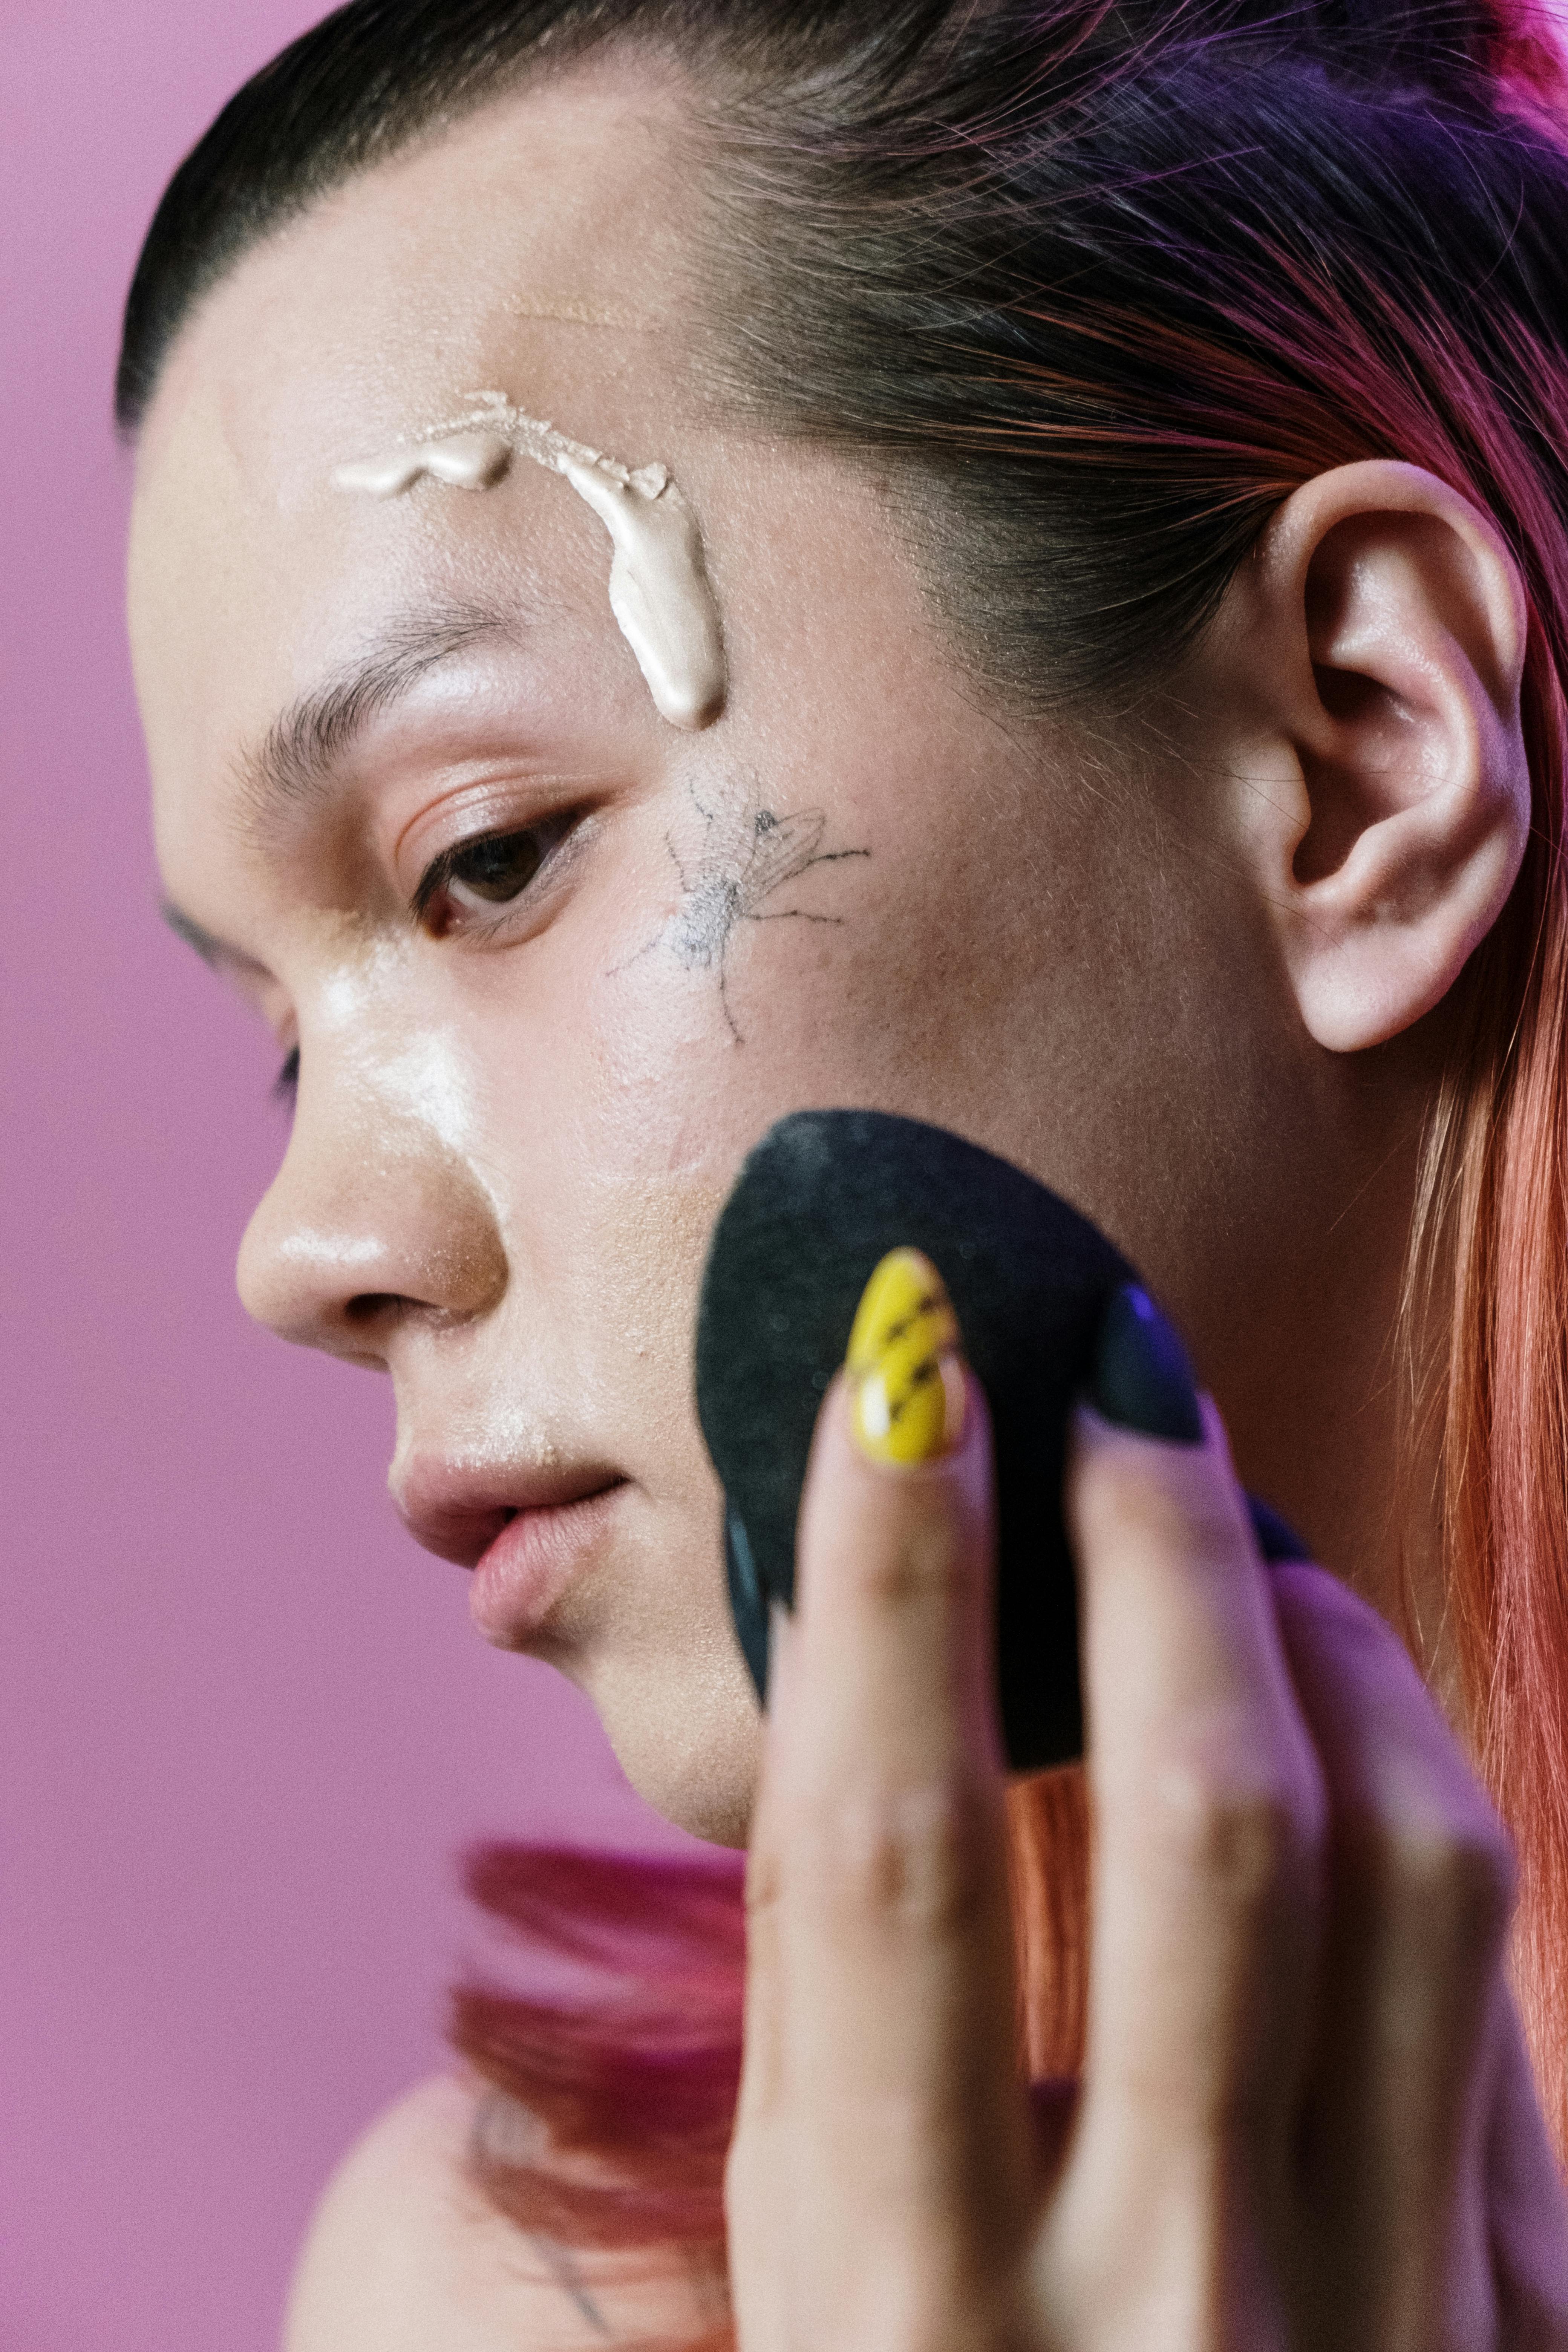
- Step 3: Use a bouncing motion. Gently bounce the beauty blender on your face to blend the product into your skin. Avoid rubbing or dragging the sponge, as this could disrupt the blend.
2.2 Overcoming Common Challenges
Despite its easy-to-use design, there are a few common mistakes people make when using the beauty blender. Here are some challenges and how to overcome them:
- Using the sponge too dry: A dry beauty blender can cause uneven blending and absorb too much product, resulting in a cakey finish. Always wet the sponge before use.
- Not cleaning the sponge regularly: A dirty beauty blender can harbor bacteria, leading to skin irritation and breakouts. Make sure to wash it thoroughly after each use.
- Using too much product: The beauty blender is designed to pick up and blend product effectively, so less is often more. Start with a small amount of product and build it up as needed.
Advanced Applications of the Beauty Blender
Once you’ve mastered the basics, there are several advanced techniques to take your makeup application to the next level. From applying multiple layers of foundation to contouring, the beauty blender can be your go-to tool for intricate makeup looks.
3.1 Layering Foundation for Full Coverage
For those looking to achieve a full-coverage foundation look, the beauty blender excels. To layer foundation, start with a thin layer, applying the product in a bouncing motion. Let the first layer dry, then apply a second layer using the same technique. This ensures a smooth, flawless finish without any cakiness.
For added coverage, you can also use the sponge to apply concealer in targeted areas, such as under the eyes or around blemishes. Its precise application helps you achieve a more polished look without over-applying product.
3.2 Using the Beauty Blender for Contouring
Contouring is another advanced technique where the beauty blender truly shines. Use the sponge to apply contour and highlight products to your face. The sponge allows for a seamless blend between the two, creating a natural contour effect that’s perfect for everyday or special occasion looks.
To contour, use a damp beauty blender to blend cream or powder contour products along the hollows of your cheeks, jawline, and temples. For highlighting, apply your product to the high points of your face, such as the tops of your cheekbones, brow bones, and nose bridge.
Future Outlook: The Beauty Blender’s Role in Makeup Innovation
As makeup technology continues to evolve, the beauty blender remains a timeless tool. Future advancements in materials and design could make the sponge even more effective at blending, as well as more eco-friendly. With an increasing demand for sustainable beauty products, we may see more brands incorporating biodegradable or reusable versions of the beauty blender into the market.
In the coming years, we may also see new shapes and sizes of beauty blenders designed for specific makeup applications, such as larger sponges for body makeup or smaller versions for detailed areas like the eyes and nose.
Conclusion
The beauty blender has become an essential tool in the world of makeup, offering precision, efficiency, and flawless results. By mastering the techniques discussed in this guide, you can take your makeup game to the next level, achieving a smooth, even application every time.
Ready to enhance your makeup routine with the beauty blender? Start using it today and discover how this simple tool can make a world of difference in your makeup application. Happy blending!
Frequently Asked Questions
- Q: How do I clean my beauty blender? Wash your beauty blender with mild soap and warm water after every use. You can also use a special sponge cleanser for deeper cleaning.
- Q: Can I use the beauty blender for powder products? Yes, while the beauty blender works best with liquid and cream products, you can use it for powder products by lightly pressing the sponge onto the skin.
- Q: How often should I replace my beauty blender? It’s recommended to replace your beauty blender every 3-6 months, depending on its condition and usage.
- Q: Is the beauty blender suitable for sensitive skin? Yes, the beauty blender is hypoallergenic and gentle on the skin, making it ideal for those with sensitive skin.
- Q: How can I achieve full coverage with the beauty blender? For full coverage, apply a thin layer of foundation, let it set, then apply a second layer using a bouncing motion to blend it seamlessly.
- Q: Can the beauty blender be used for contouring? Yes, the beauty blender is excellent for contouring as it allows for a seamless blend of contour and highlight products.
- Q: How do I use the beauty blender for precise areas like the eyes? Use the pointed tip of the beauty blender to target smaller areas, such as under the eyes and around the nose.